
Office Chair Assembly Instructions
A simple, step by step guide to setting up your Sederica office chair. This guide covers all our office models, including the soft pad, ribbed, mesh, and management styles. Every tool comes in the box.
Before You Begin
A few minutes of setup makes the job simple
Please read this office chair assembly guide before you start. The steps below are the same for all our office chair styles, whether you have a soft pad, ribbed, mesh, or management model. You will fit the castors to the base, add the gas lift, and then join the seat. One person can finish it easily.
- Unpack on a clean, flat surface, and keep any wrap on the seat and back until you have finished
- Lay the parts out and check them against the list below before you throw any packaging away
- Start every screw by hand first, then tighten them all firmly once everything is lined up
- The gas lift and base simply push together under the weight of the chair, so no screws are needed there
What Is in the Box
Check every part before you start
| Ref | Component | Qty |
|---|---|---|
| A | Five star base | 1 |
| B | Gas lift cylinder | 1 |
| C | Gas lift cover | 1 |
| D | Seat and back assembly | 1 |
| E | Tilt mechanism plate | 1 |
| F | Armrests | 2 |
| Ref | Component | Qty |
|---|---|---|
| G | Castors | 5 |
| H | Seat mounting screws | 4 |
| I | Armrest screws | 4 |
| J | Washers | 8 |
Email hello@sederica.com with your order number and a photo of the parts laid out. We will send a replacement, and you do not need to return anything.
Note: some models have fixed armrests already attached, so you may have fewer parts. Always follow the parts card inside your own box.
Tools You Need
Everything is included in the box
Watch the Assembly Video
A short video to follow along with
If you would rather watch than read, this short video shows an office chair assembly from start to finish. It is a helpful reference while you follow the steps below.
Step by Step Assembly
Follow each step in order for the best fit
Fit the Castors to the Base
- Turn the five star base (A) upside down on the floor
- Push each of the five castors (G) firmly into the holes at the end of each arm, until you hear or feel them click into place
- Turn the base the right way up once all five are fitted
Insert the Gas Lift
- Slide the gas lift cover (C) over the gas lift cylinder (B)
- Drop the gas lift, wide end down, into the centre hole of the base
- It rests in place under its own weight for now, and locks in firmly once you sit on the chair
Attach the Tilt Mechanism
- Turn the seat and back assembly (D) upside down
- Line the tilt mechanism plate (E) up with the holes on the underside of the seat
- Place a washer (J) on each seat mounting screw (H), start all four by hand, then tighten them firmly with the Allen key (K)
Attach the Armrests
- If your model has separate armrests (F), line each one up with the holes on the side of the seat
- Fit the armrest screws (I) with a washer (J) on each, and tighten them firmly
- If your model has fixed armrests already attached, you can skip this step
Join the Seat to the Base
- Lift the seat assembly and lower the tilt mechanism onto the top of the gas lift
- Line up the centre hole and press down firmly
- Sit on the chair once, as your weight locks the gas lift into the seat and the base securely
You Are Finished
- Your office chair is now fully assembled and ready to use
- Peel away any wrap from the seat and back
- Try the height lever and the tilt to set the chair to suit you
-
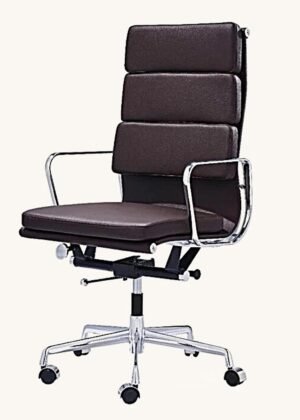
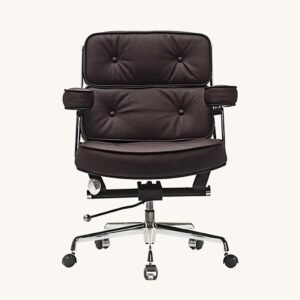
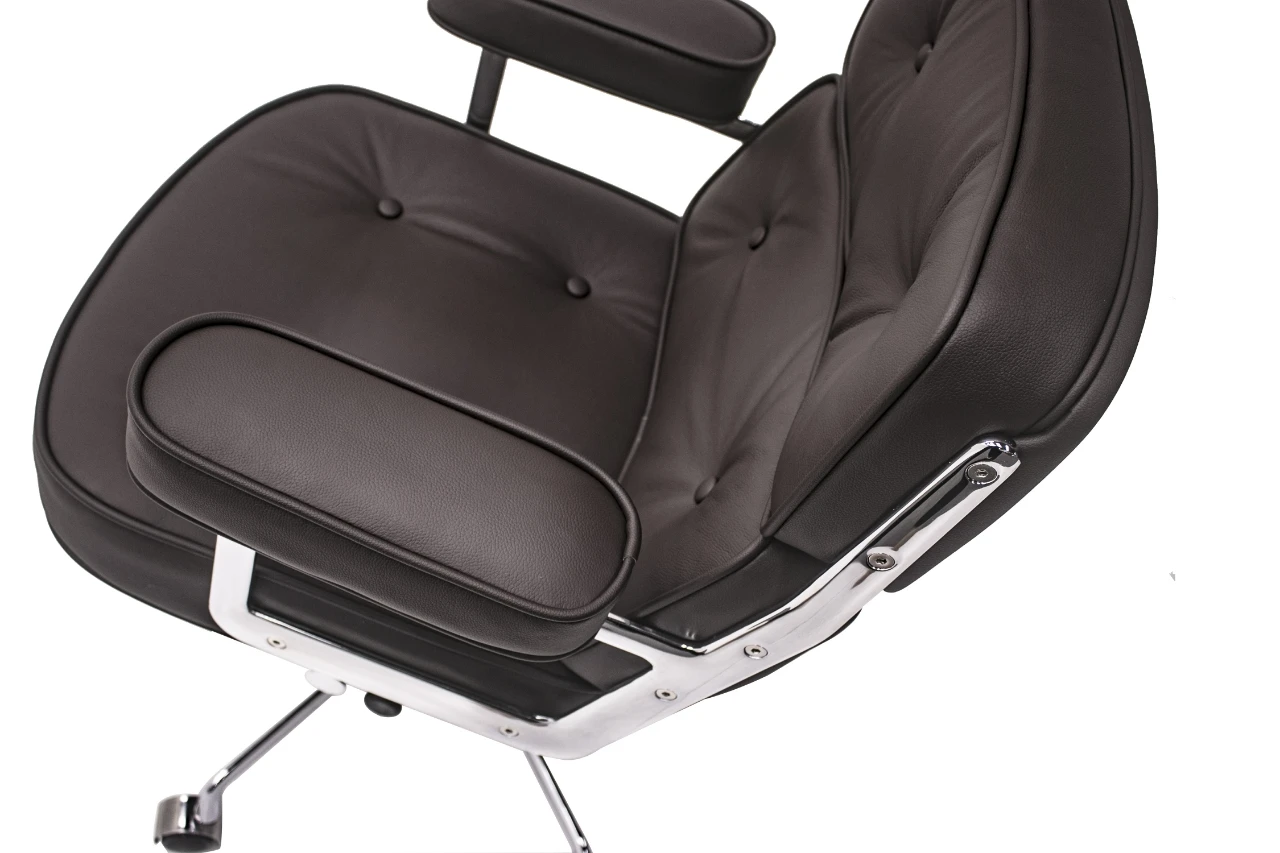
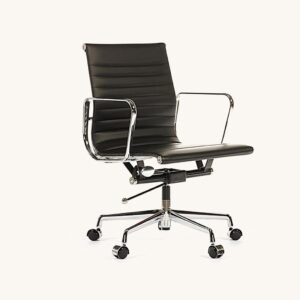
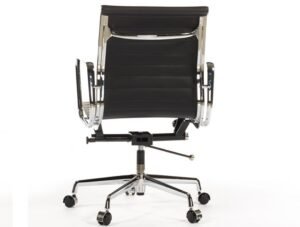
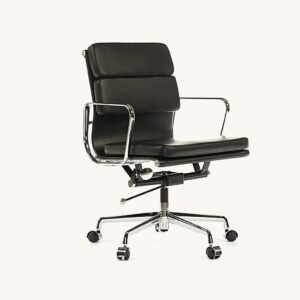
Eames Executive & Lobby Chairs
Original price was: €575,00.€385,00Current price is: €385,00. Add to basket


Caring for Your Office Chair
Simple habits that keep your chair looking new
- Dust the leather or mesh with a soft, dry cloth once a week
- Wipe spills on leather straight away with a clean, slightly damp cloth, and never soak it
- Buff any fingerprints off the polished aluminium base and frame with a soft cloth
- Apply a leather conditioner every 6 to 12 months on leather models to keep the pads soft
- Check the castors and screws every few months, and tighten any that have loosened
If the chair ever feels wobbly, it is almost always a loose seat screw or a castor that has not fully clicked in. A quick check usually sorts it.
Warranty and Support
We are here if you need us
Every Sederica chair comes with a 2 year written warranty against faults in materials and workmanship. If you have a question about your order, need a replacement part, or would like help with assembly, just get in touch.
Email Us
hello@sederica.com
We reply within 24 hours on business days
Warranty
2 year written cover
Read the full terms
Returns
14 days from delivery
Read our returns policy
Thank you for bringing Sederica into your home. You can explore more pieces in our office chair collection, or read about the makers behind these classics on our designers page.